Ensure Network Connection Before Signing In (Windows 11)
- Turn on or wake your device.
- At the Windows sign-in screen (before entering your password):
- Look in the bottom-right corner of the screen.
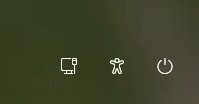
- Find the network icon:
-
 Globe icon = Not connected
 -
 Wi‑Fi bars = Connected to Wi‑Fi
 -
 Monitor icon = Connected via Ethernet
-
- Look in the bottom-right corner of the screen.
If you see Wi‑Fi bars or Ethernet, your device is already connected, and you can sign in.
Connect to a Wi-Fi Network Before Signing In
If you are NOT connected (globe icon):
Step-by-step:
- On the sign-in screen, click the network icon (bottom-right corner "Globe").
- A list of available Wi‑Fi networks will appear.
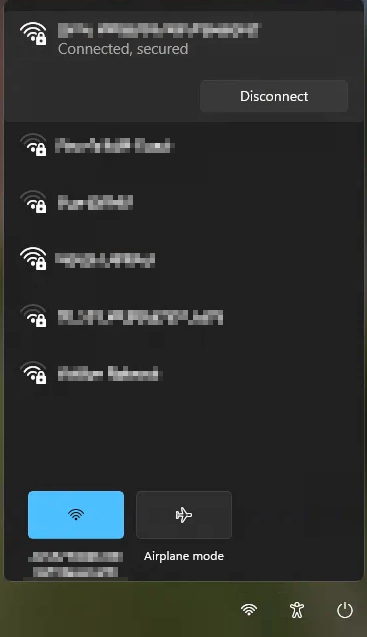
- Select your preferred Wi‑Fi network name (SSID).
**See the SOM Wireless page for SOM Wi-Fi Network information
(Optionally check "Connect automatically" if you trust the Wi-Fi network)
Click Connect.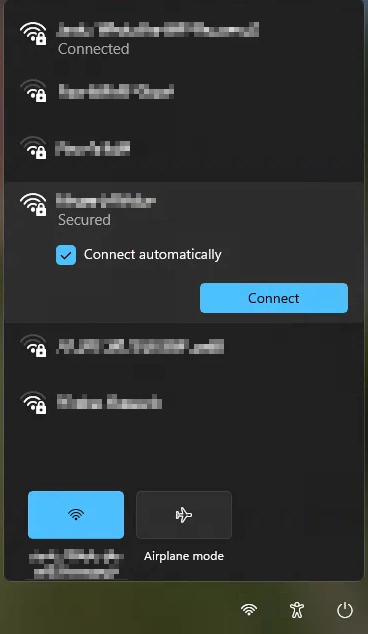
- Enter the Wi‑Fi password when prompted.
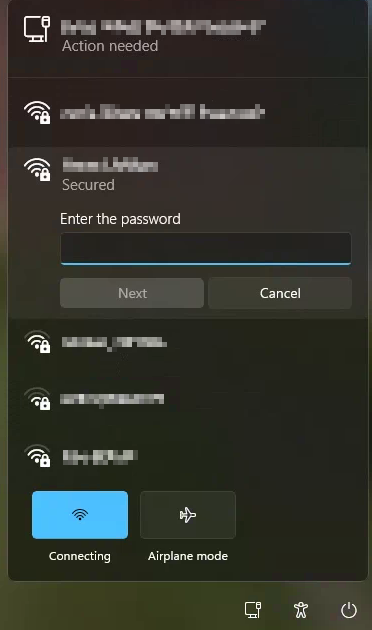
- Click Next or Connect.
Once connected, the icon will change to Wi‑Fi bars.
Connect Using a Docking Station or Ethernet Adapter
If Wi‑Fi is unavailable or unreliable, you can use a wired connection, which is often faster and more stable.
Option 1: Docking Station
- Connect your laptop to the docking station using the appropriate cable (USB‑C, Thunderbolt, etc.).
- Ensure the dock is:
- Powered on (if required)
- Connected to the network via an Ethernet cable
- Windows should automatically detect the connection.
Look for the monitor/Ethernet icon at the sign-in screen.
Option 2: USB Ethernet Adapter
- Plug the USB Ethernet adapter into your laptop.
- Connect an Ethernet cable from the adapter to a wall network port or router.
- Wait a few seconds for Windows to recognize it.
The network icon should change to the Ethernet symbol automatically.